Generic case study. We do not name the property, the address, or the owner — the value is the method, the cable strategy and the accessory schedule.
The brief
A Grade II listed Georgian-conversion property in central Bath, 4 bedrooms across three floors, with a basement kitchen and original features throughout: working sash windows, lath-and-plaster ceilings, the original staircase, panelled doors, picture rails, and a continuous run of original architrave the owner specifically did not want chasing into. The wiring was an aging mix of late-1970s rubber-sheathed and post-1990s twin-and-earth, with a wooden-back fuseboard in a basement cupboard. EICR had come back UNSATISFACTORY (multiple C2s) and the brief was a full rewire — without leaving a mark on anything original.
Conservation officer liaison
Listed-building consent isn't always required for a like-for-like internal rewire, but on a Grade II property it pays to assume it might be. We:
- Wrote a method statement and reversibility statement before the first cable was pulled
- Liaised directly with Bath & North East Somerset (B&NES) conservation officer ahead of work
- Agreed which voids the cables would run in, where chase routes were and weren't acceptable, and how the original features would be protected during work
- Photographed every original feature before work began — architrave, skirtings, picture rails, ceiling roses, fireplaces — and stored the photos with the job file
Approach detail covered in heritage installations.
Invisible cable routing strategy
The whole job lives or dies on the cable strategy. The principles were:
- Use existing voids first. Lift floorboards in the order they were originally laid (numbered with chalk, photographed, replaced sequentially). Run cables in joist drillings, not on top of joists, with grommets at every drilled hole.
- Drop, don't chase. Wherever possible, drop into the wall from the ceiling void above rather than chasing up from a socket position. The chase, if needed, is short and behind the skirting.
- Behind the skirting, not through it. Original skirting is removed carefully (not split), cables laid in the wall behind, skirting refitted with the original nails or matching cut nails.
- Reuse original switch and socket back-boxes wherever they're sound. New back-boxes only where the old ones were galvanised steel of unknown age.
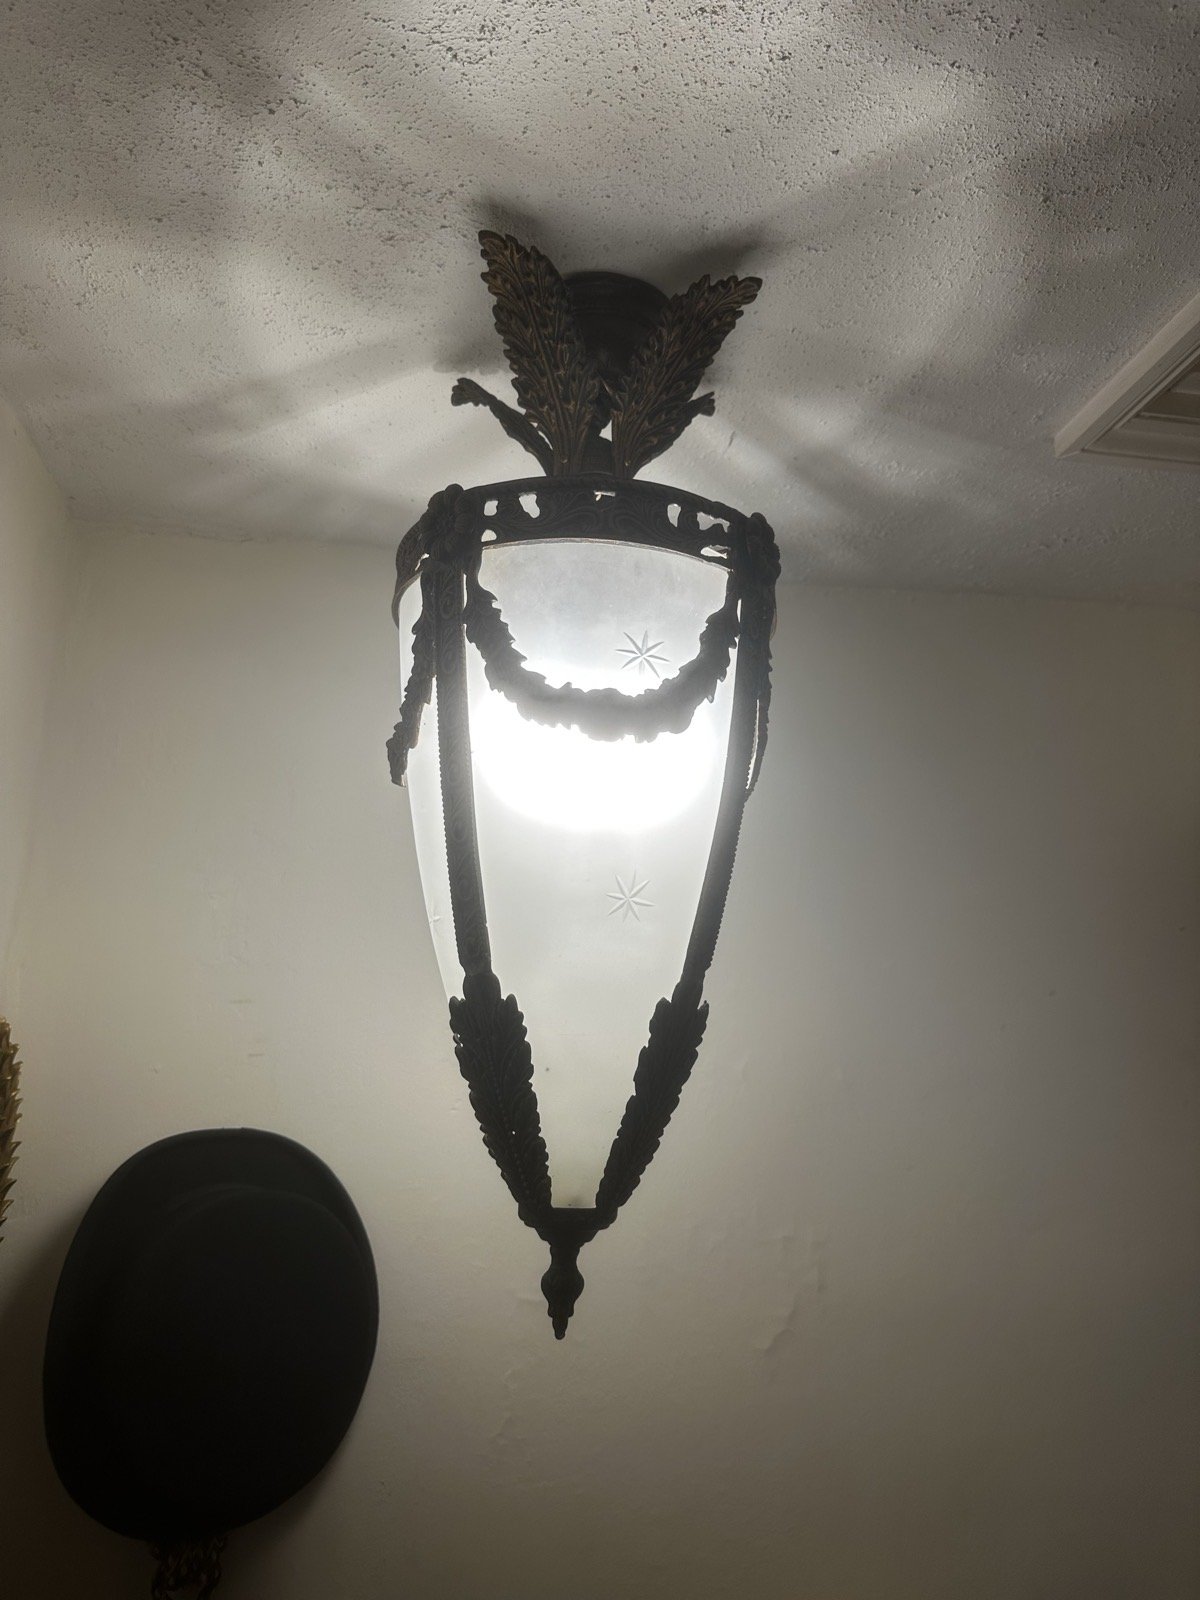
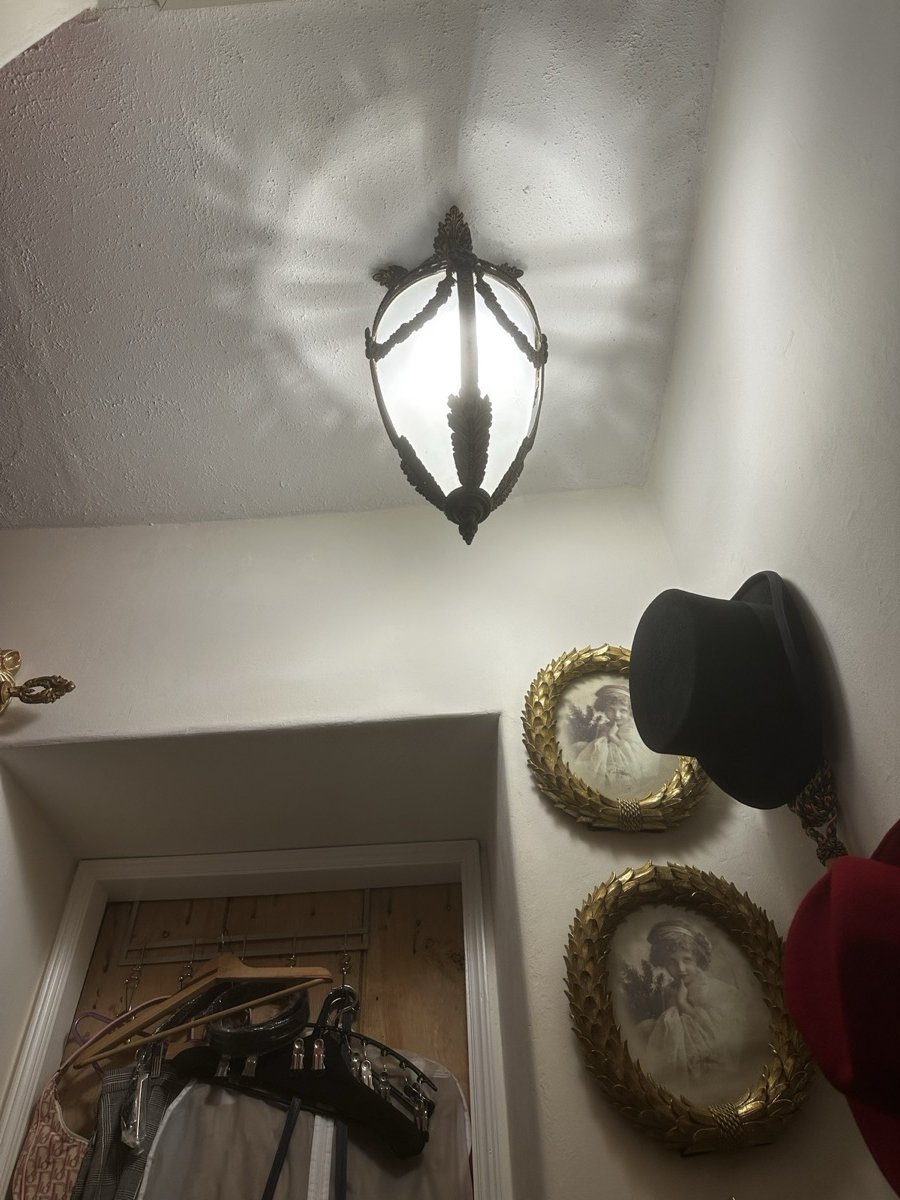
- No surface conduit on principal elevations. Anywhere visible, the wiring is invisible.
Brass-finish accessory schedule
The visible kit was specified to match the period of the property, not bolted on as an afterthought. The accessory schedule was approved with the owner before any kit was ordered:
- Forbes & Lomax — unswitched brass sockets in the principal rooms (front parlour, principal bedroom, drawing room)
- Hamilton Litestat — antique-brass dolly switches and dimmers throughout
- Period-style flex pendants in colour-matched braided flex on the original ceiling roses
- Brass-cup ceiling roses on staircase and landings
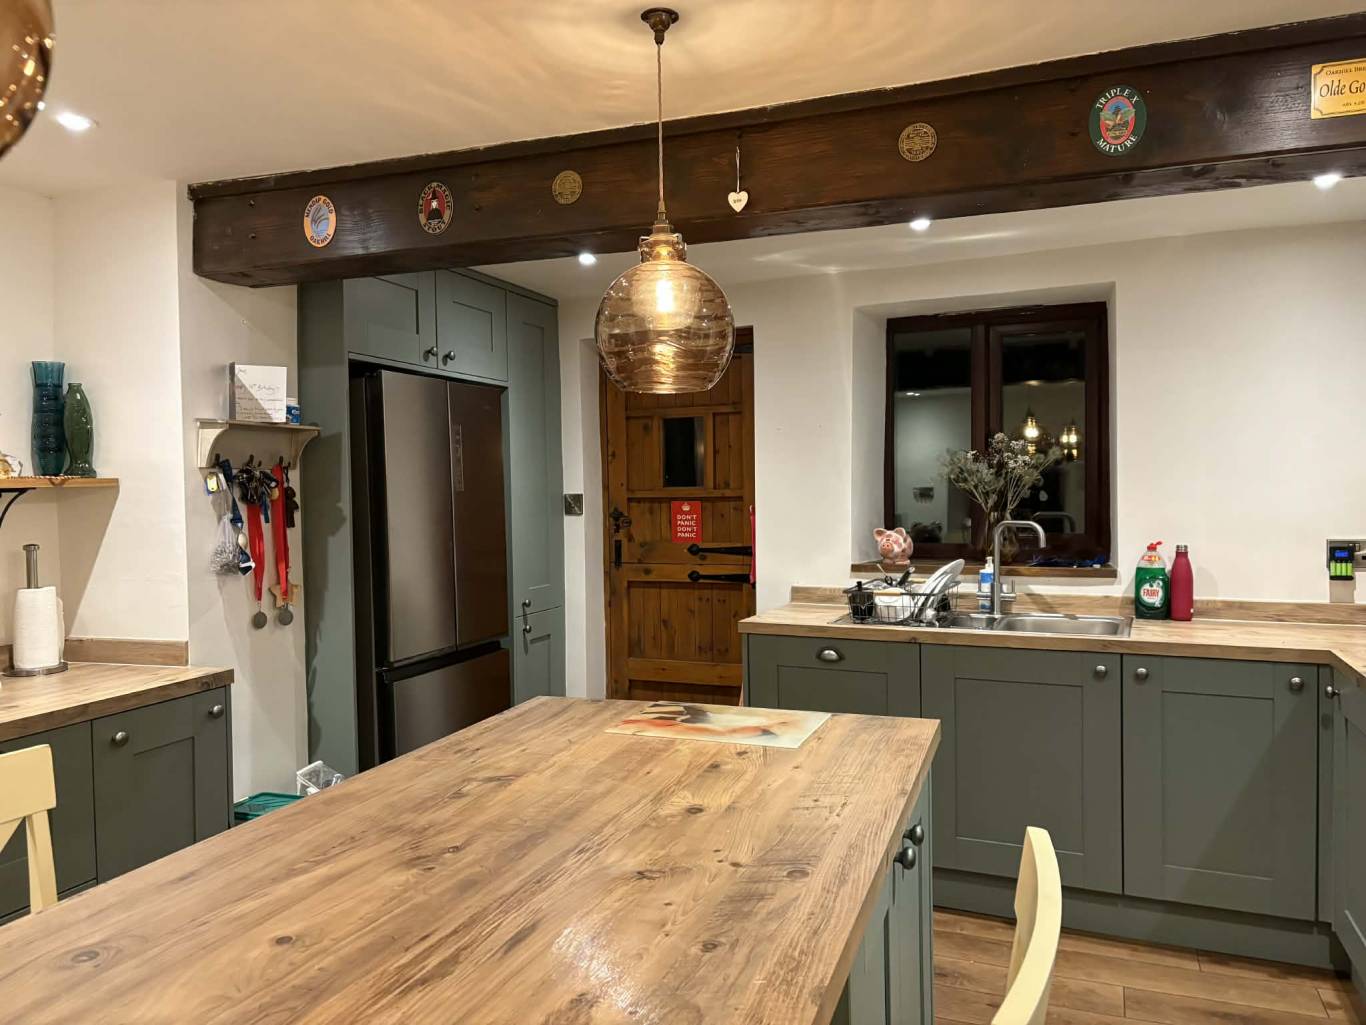
- White MK kept for kitchen and utility (where guests don't see them)
- Floor sockets in brass with hinged lids for the drawing-room sofa run, agreed with conservation
Staged install over 2 weeks
The job was sequenced as 9 working days across 2 weeks, with the property occupied throughout (the owner moved between rooms as we worked):
- Day 1 — Strip-out, protection, photography. Original features dust-sheeted, floorboards numbered and lifted in the work zones, photographs of every original detail.
- Days 2–4 — First fix. All new cabling pulled through ceiling voids and joist drillings. Existing wiring left live in parallel where possible so the owner didn't lose lighting overnight.
- Day 5 — Board change. New consumer unit installed in basement cupboard (same location, replacement kit). Property on temporary supply for the day.
- Days 6–7 — Second fix. Brass accessories fitted, switches and sockets terminated, lighting hung.
- Day 8 — Test & cert. Full BS 7671 inspection-and-test, every circuit, every reading logged.
- Day 9 — Handover. Walk-through with the owner, every circuit demonstrated, paperwork issued.
The new board
| Component | Spec |
|---|---|
| Consumer unit | Metal-clad 18-way, RCBO per circuit |
| Surge protection | Type 2 SPD on the incoming |
| AFDD | Bedroom-circuit AFDD per BS 7671 sleeping-accommodation guidance |
| RCBOs | Type A, 30 mA, full per-circuit individual protection |
| Tails & bonding | 25 mm² tails, 10 mm² main protective bonding |
| Earthing | Verified, labelled, photographs on file |
BS 7671 cert + Part P
Handover paperwork:
- BS 7671 Electrical Installation Certificate — full, NAPIT-format, every circuit reading logged, signed and dated
- Part P Building Regulations Compliance Certificate — notified through NAPIT to local building control
- Schedule of test results for every final circuit
- Method statement and reversibility note filed with the customer for any future listed-building application
- Photographs of every original feature before, during and after work
- VAT invoice — itemised, VAT @ 20%
Why this approach. A heritage property gets one chance at a rewire that doesn't damage it. Plan the cable routes before lifting a board, agree the accessory schedule before ordering kit, document everything before you change anything. The job takes longer in planning than it does on site — that's deliberate.
Also see: house rewires, heritage installations, heritage listed-building wiring guide.